Contents
- First-Time Setup Your Business Profile
- Your Dashboard
- Adding & Managing Customers
- Creating a Job (Appointment)
- Adding Photos & Getting a Signature
- Service Reports & Tax Invoices
- Setting Up Official Tax Invoices
- Viewing Your Finances & Invoice Ledger
- Teams Plan Manage Your Technicians
- Technician View
- Quick Tips
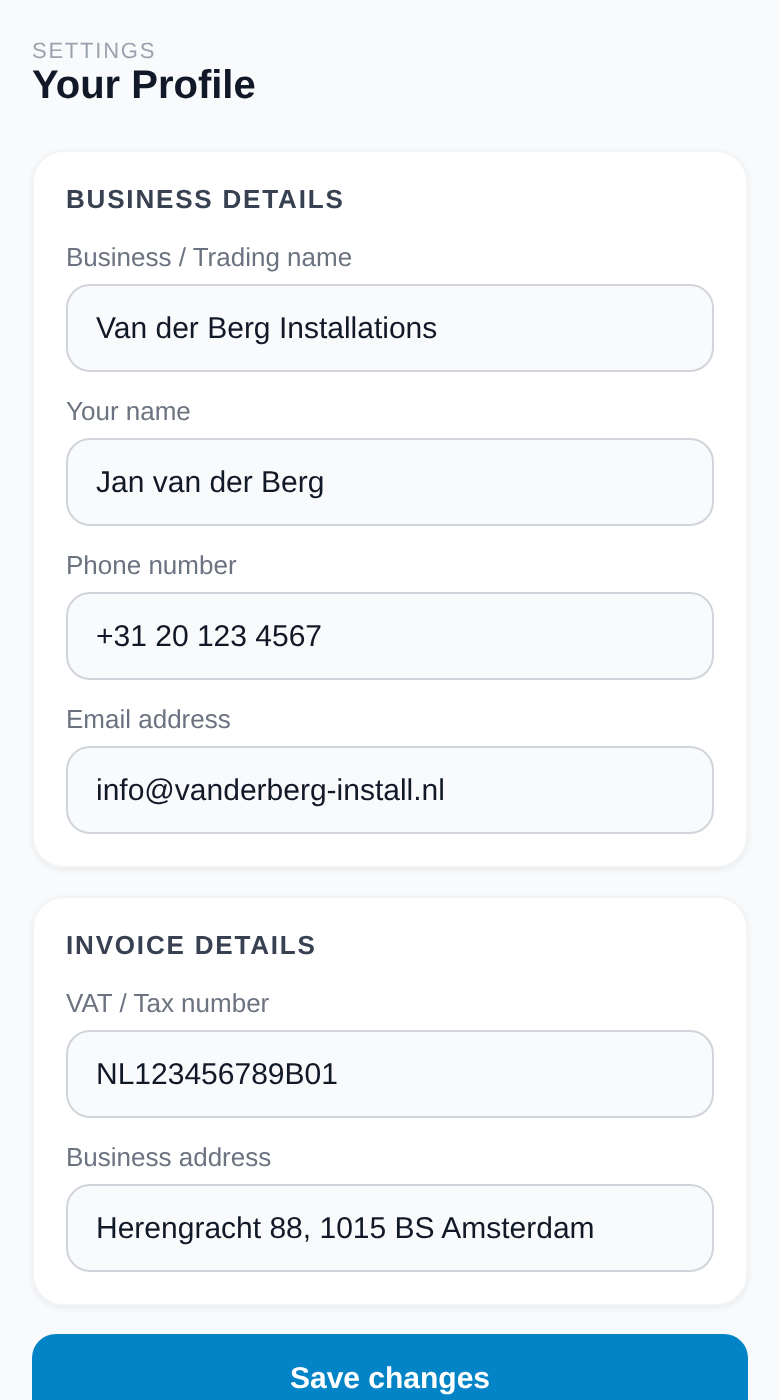
First-Time Setup
Before you start booking jobs, spend two minutes filling in your business details. This information goes directly onto every invoice you create.
Business Details
Enter your Business Name, address, phone number and VAT number. These appear at the top of every invoice.
Invoice Settings
Set your default VAT rate (e.g. 21%) and a payment note for example: "Payment due within 14 days."
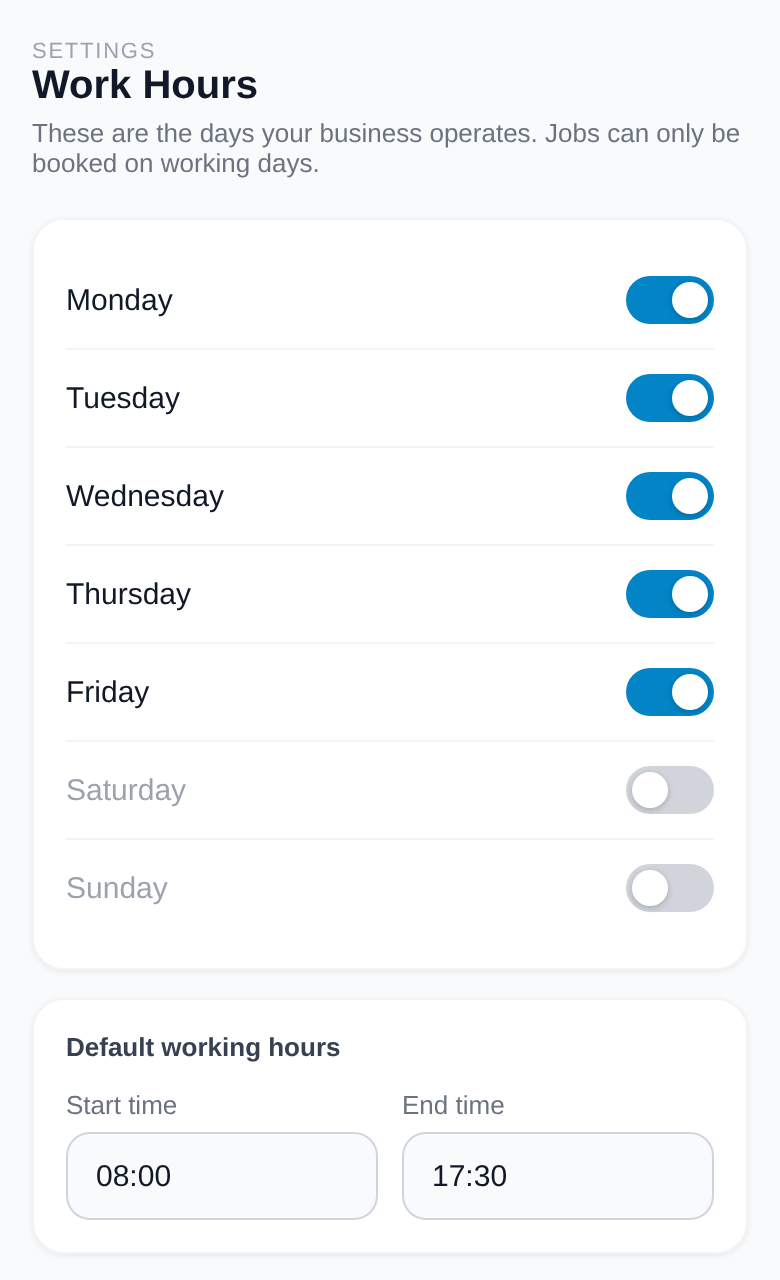
Work Hours
Toggle which days of the week you work and set your normal start/end times. This is used in job scheduling.
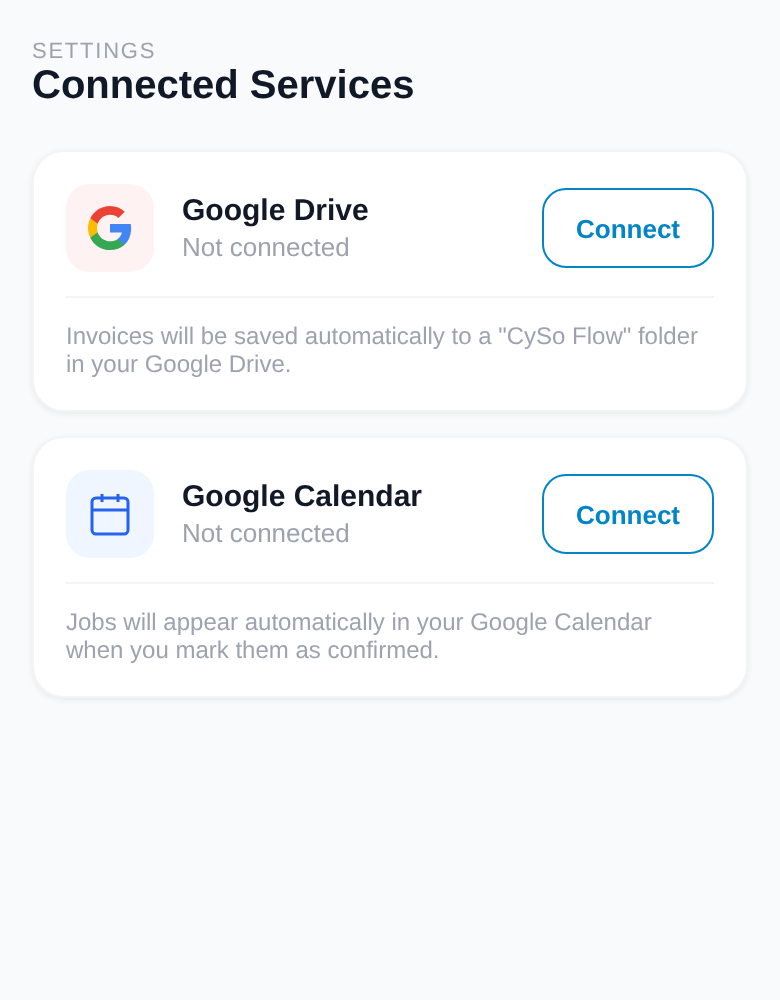
Google Drive & Calendar (optional)
Tap Connect Drive to save invoices to your Google Drive automatically. Tap Connect Calendar to sync jobs with Google Calendar.
Your Dashboard
The Dashboard is your daily command centre. At a glance you can see this month's revenue, your calendar of booked dates, and all upcoming jobs.
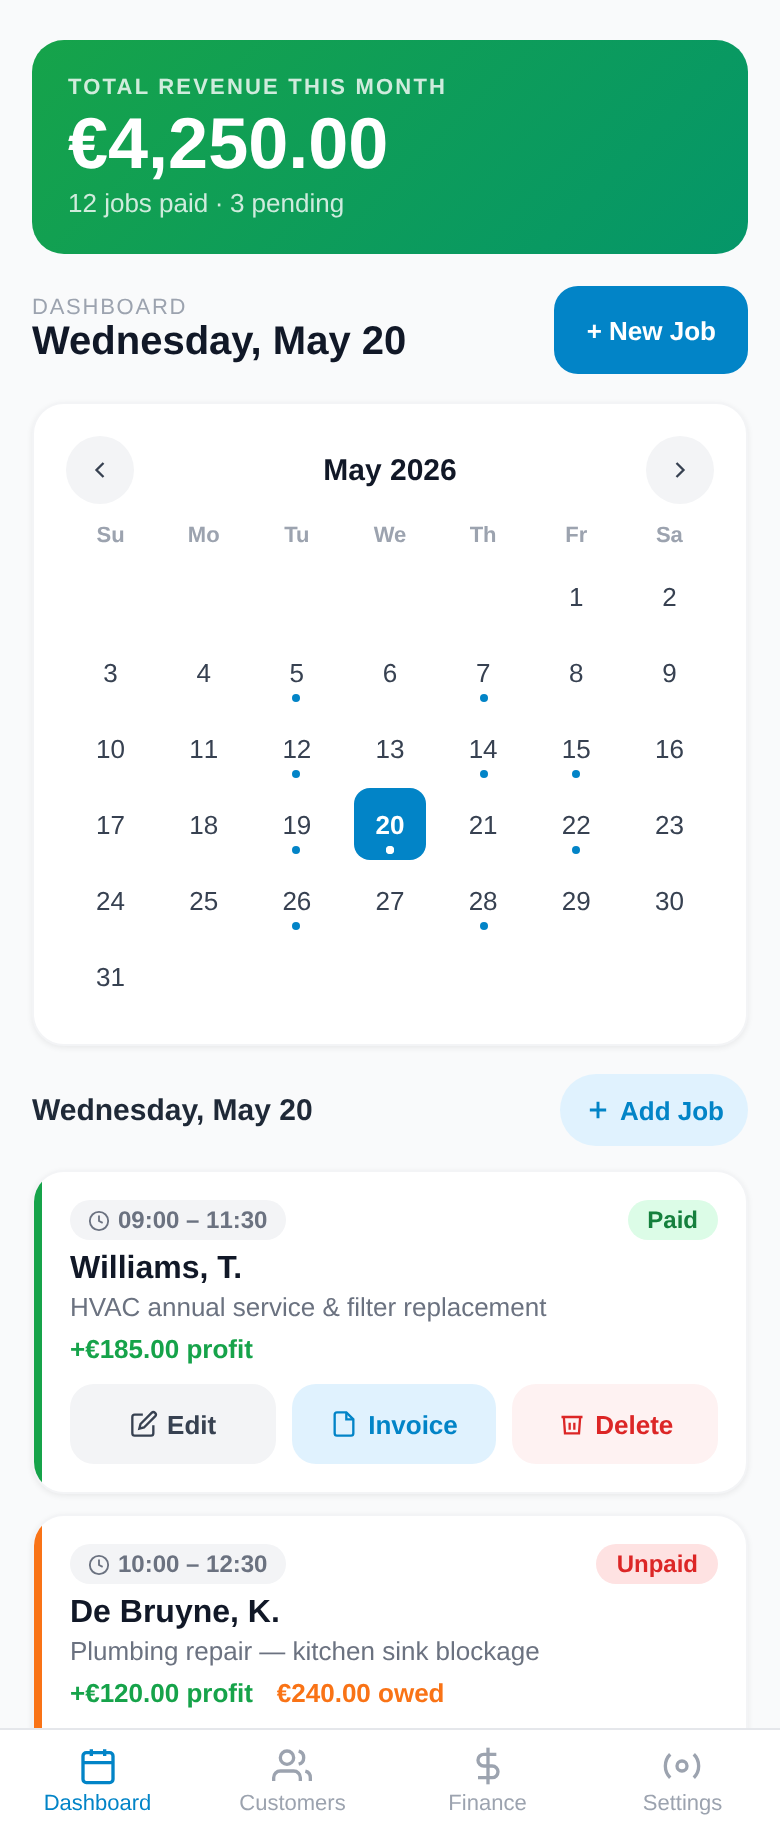
Revenue Banner
Shows total revenue and profit for the current month. Green means you're on track.
Calendar
Dates with a blue dot have scheduled jobs. Tap any date to filter the job list below.
Job Cards
Each card shows the customer name, job type, time, and whether it's been paid (green border) or not (orange border).
Navigation Bar
At the bottom of the screen (or left side on desktop) you have five main sections:
Adding & Managing Customers
Your customer list is the foundation of CySo Flow. Every job and invoice is linked to a customer you've saved here.
Open the Customers page
Tap Customers in the navigation bar. You'll see a list of all saved customers with a search bar at the top.
Tap "+ Add Customer"
The blue button at the top right opens the customer form.
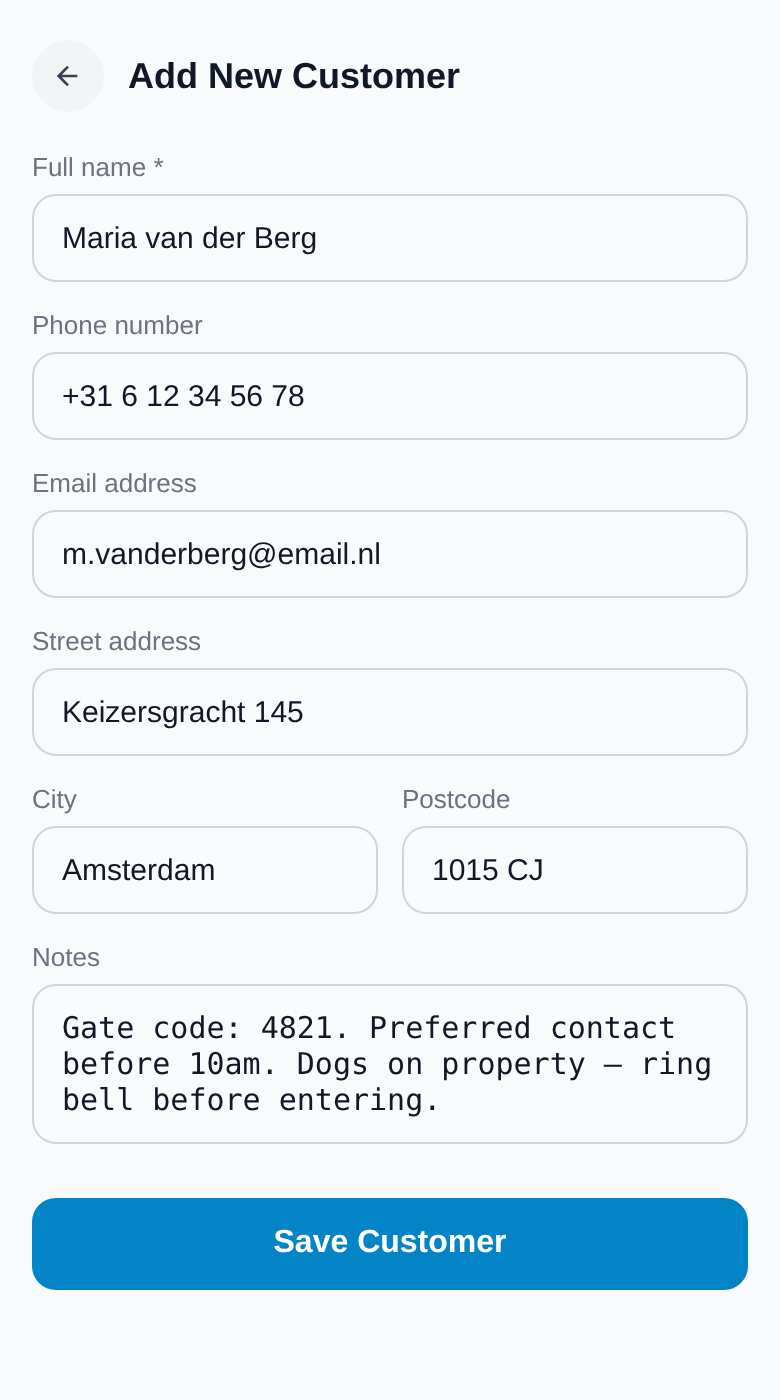
Fill in the details
Enter the customer's name, phone number, email, and address. Notes are optional use them for site access codes, parking instructions, etc.
Tap "Save Customer"
The customer is saved instantly and appears in your list. You can edit or delete them at any time.
Customer detail & history
Balance at a glance
Each customer card shows a red Owes €X badge if they have an outstanding balance, or a green ✓ Fully paid badge if everything is settled the VAT-inclusive total across all unpaid jobs.
VAT number for B2B clients
When adding or editing a customer, store their VAT / Tax number. It prints automatically on any tax invoice you issue to them required for EU B2B transactions.
Delete all appointments
Inside a customer's detail panel, tap Delete all in the appointment history to remove every appointment for that client at once. You'll be asked to type DELETE to confirm.
Creating a Job
A "job" is a scheduled appointment with a customer. You can record the work done, materials used, travel time, pricing, and profit all in one place.

Choose a Customer
Tap the customer field and search by name. The address will fill in automatically.
Set the Date & Time
Pick the date, start time, and estimated duration. This adds the job to your calendar.
Describe the Work
Enter a job title and description this goes straight onto the invoice.
Enter Pricing
Fill in labour hours, hourly rate, and any materials cost. The app calculates your profit automatically (after materials and travel time deductions).
Save & Mark Paid
Tap Save Job. Once the customer pays, toggle the Paid switch the job card will turn green on your dashboard.
What each job card shows
Green border = Paid
The customer has paid. Revenue is counted in your totals.
Orange border = Unpaid
Payment is still outstanding. A reminder to follow up.
Edit button
Opens the job form again to update any detail at any time.
Invoice button
Generates a PDF invoice for this job instantly. See Section 6.
Adding Photos & Getting a Signature
Protect yourself and your customers by capturing before/after photos and a digital signature on completion.
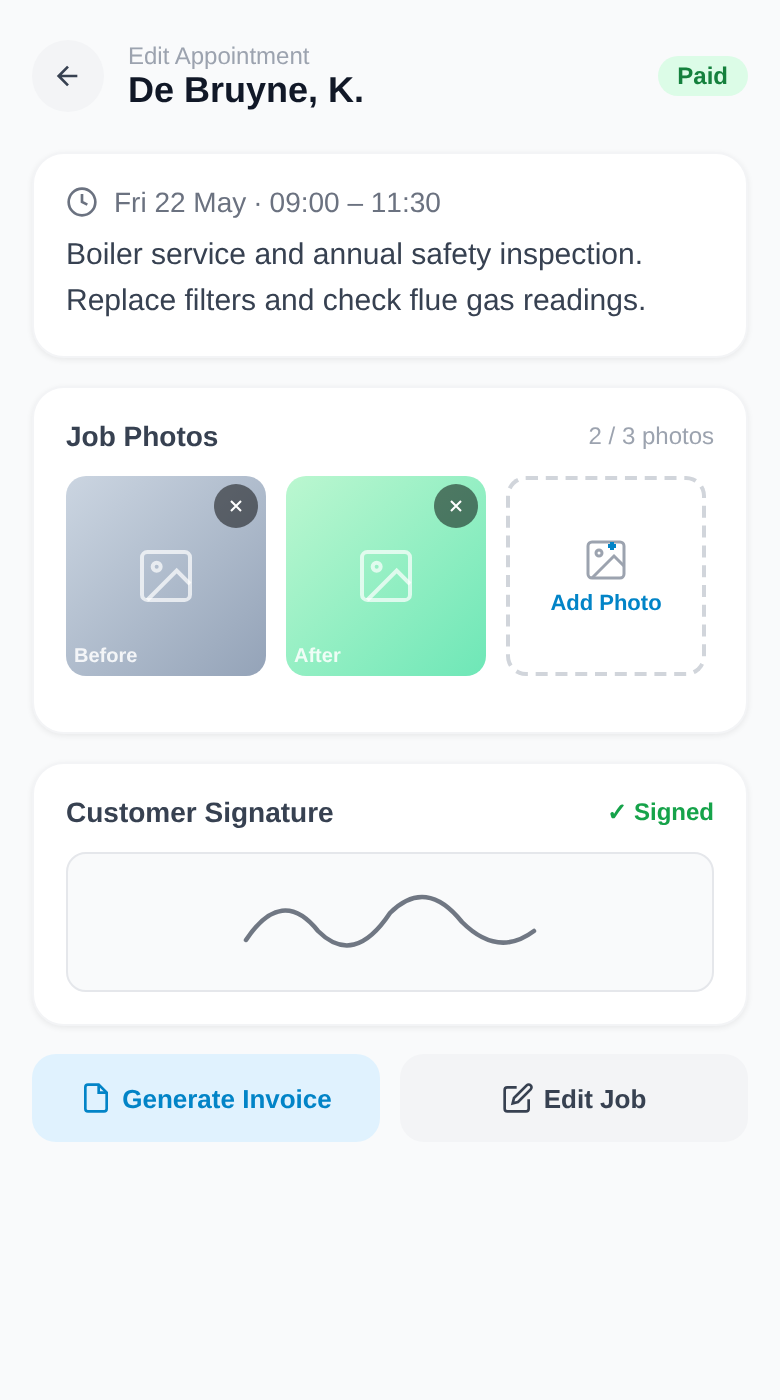
Open the job
Tap any job card on the Dashboard to open the job detail view.
Tap "Add Photo"
Choose a photo from your gallery or take one with your camera. You can add up to 10 photos per job (Pro/Teams plan).
Label each photo
Give each photo a caption like "Before" or "After the repair" so it's clear in the record.
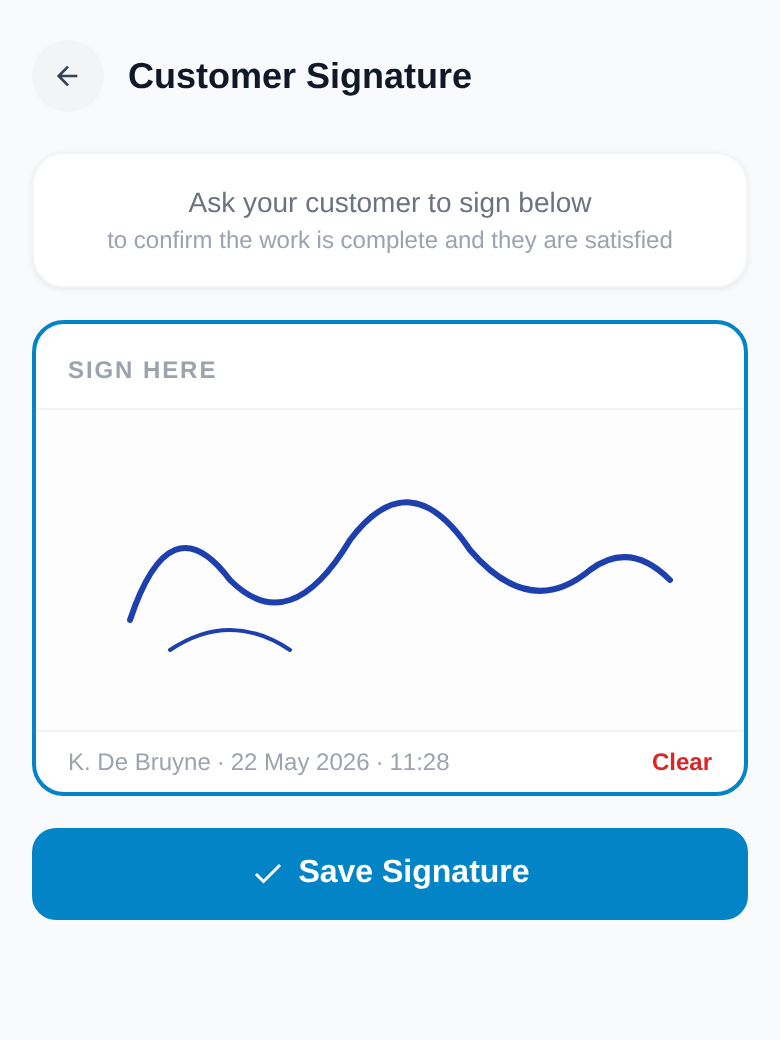
Request a signature
Hand the phone to the customer. They draw their signature on the screen, then tap Save Signature. Their name and timestamp are recorded automatically.
Service Reports & Tax Invoices
CySo Flow generates two types of professional PDF documents. Tap the PDF button on any job from the Dashboard, Finance page, or customer detail to choose which one you need.
Service Report
Available on all plans. A professional job-completion document not a legal tax invoice. Shows your company name, customer details, work description, materials, labour and a discreet payment status badge. Choose from 5 templates: Fieldwork, Dispatch, Sitelog, Signature, Checkpoint.
Tax Invoice
Available on paid plans when Official Tax Invoices are enabled. A legally valid EU tax invoice with your VAT number, a sequential invoice number, date of work, line items with VAT, bank details and a legal disclaimer. Choose from 5 templates: Clean, Traditional, Contemporary, Executive, Impact.
Tap the PDF button on any job
It appears on every job card on the Dashboard, on each row in the Finance page, and in the appointment history inside a customer's detail panel.
A sheet slides up choose your document
Tap Service Report for a simple completion document, or Tax Invoice for a legally valid invoice. The Finance page pre-selects Tax Invoice for you.
The PDF downloads instantly
Tax invoices are also recorded in the Issued Invoices ledger on the Finance page and uploaded to your cloud storage provider.
Setting Up Official Tax Invoices
To issue legally valid EU tax invoices, enable the feature in Settings and enter your business details. This takes about two minutes and only needs doing once.
Enable Official Tax Invoices
Go to Settings → Official Tax Invoices (visible on all plans; active on paid plans) and switch it on a set of new fields expands below.
Enter your business details
Fill in your legal business name, address and VAT / TIC number. These print as the seller details on every tax invoice.
Set your invoice number format
The default INV{YY}{NNN} produces INV26001, INV26002, and so on. A live preview shows your next number as you type. Set a starting number and tap Set.
Choose a template, colour & bank details
Pick one of the 5 invoice templates and an accent colour. Optionally toggle on bank details to print your IBAN and BIC for easy bank-transfer payments. A separate picker lets you choose your service report template too.
Viewing Your Finances & Invoice Ledger
The Finance page gives you a clear picture of how your business is performing without needing an accountant. It has two tabs: Appointments (your earnings overview) and Issued Invoices (a ledger of every tax invoice you've generated, with cancel options).
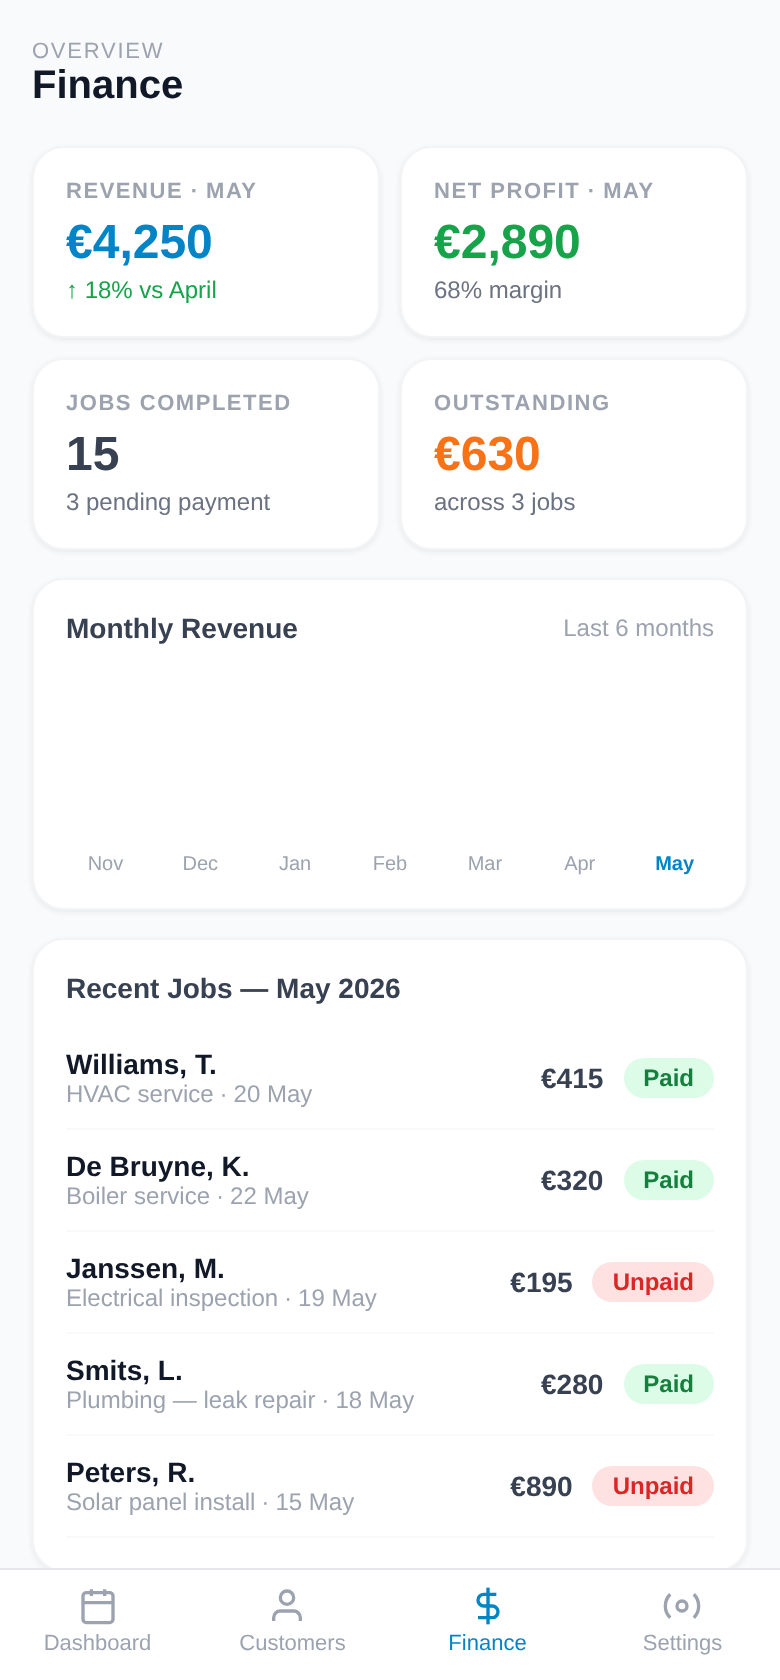
Revenue & Profit cards
See your total revenue (all paid jobs) and your net profit (after materials deducted) for any selected period.
6-Month Bar Chart
A visual history of monthly revenue so you can spot busy seasons and slow months at a glance.
Job List with Paid/Unpaid badges
Every job is listed below the chart. Tap any job to jump straight to it and mark it paid.
Export to Spreadsheet
Tap the export button to download a spreadsheet of all your jobs useful for your accountant at tax time.
Managing Your Team
The Teams plan lets you invite technicians, assign jobs to them, and see who's working where all from your admin account.
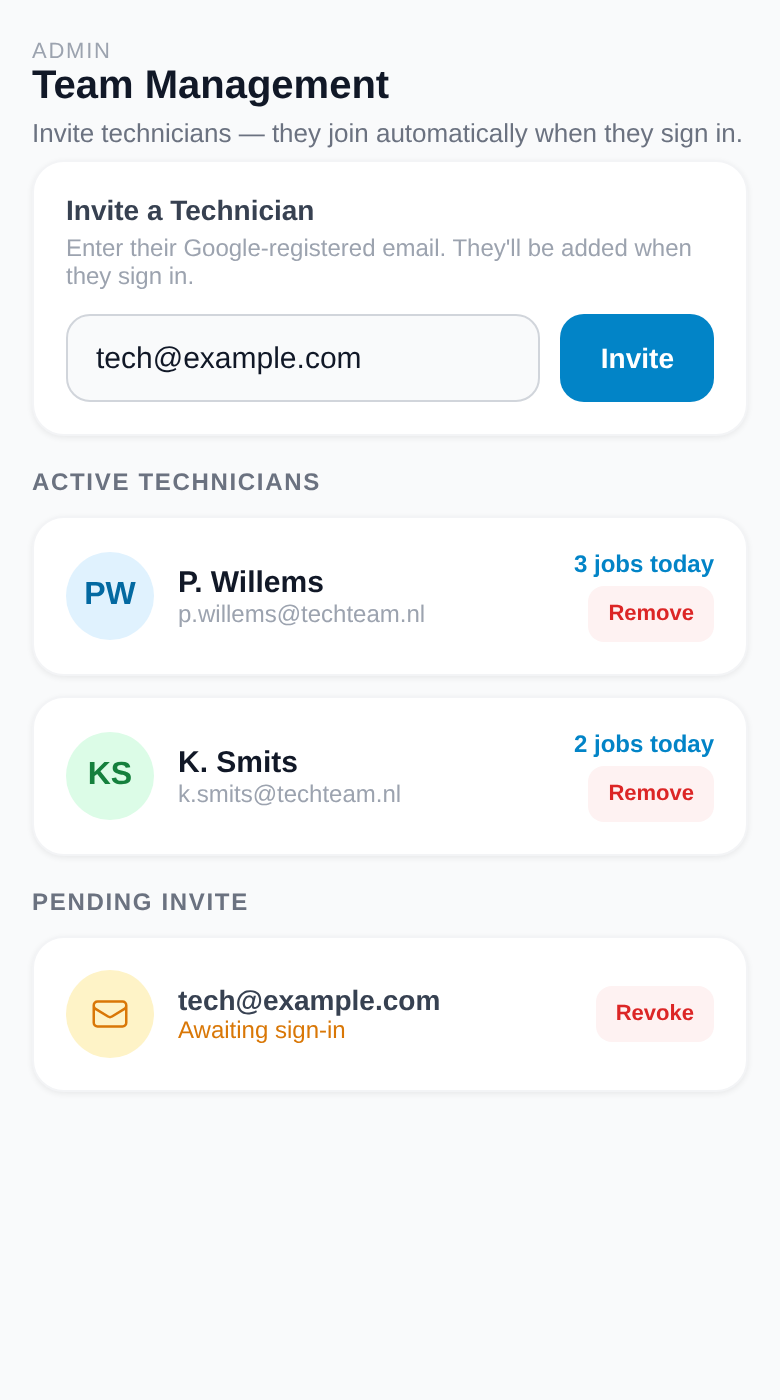
Inviting a Technician
Open the Team page
Tap Team in the navigation bar (visible to admins only).
Enter the technician's email
Type the email address of the person you want to invite and tap Send Invite. They will receive an invitation when they log into CySo Flow.
Technician accepts the invite
When they log in, a confirmation screen asks them to accept or decline. Once accepted, they appear in your team list.
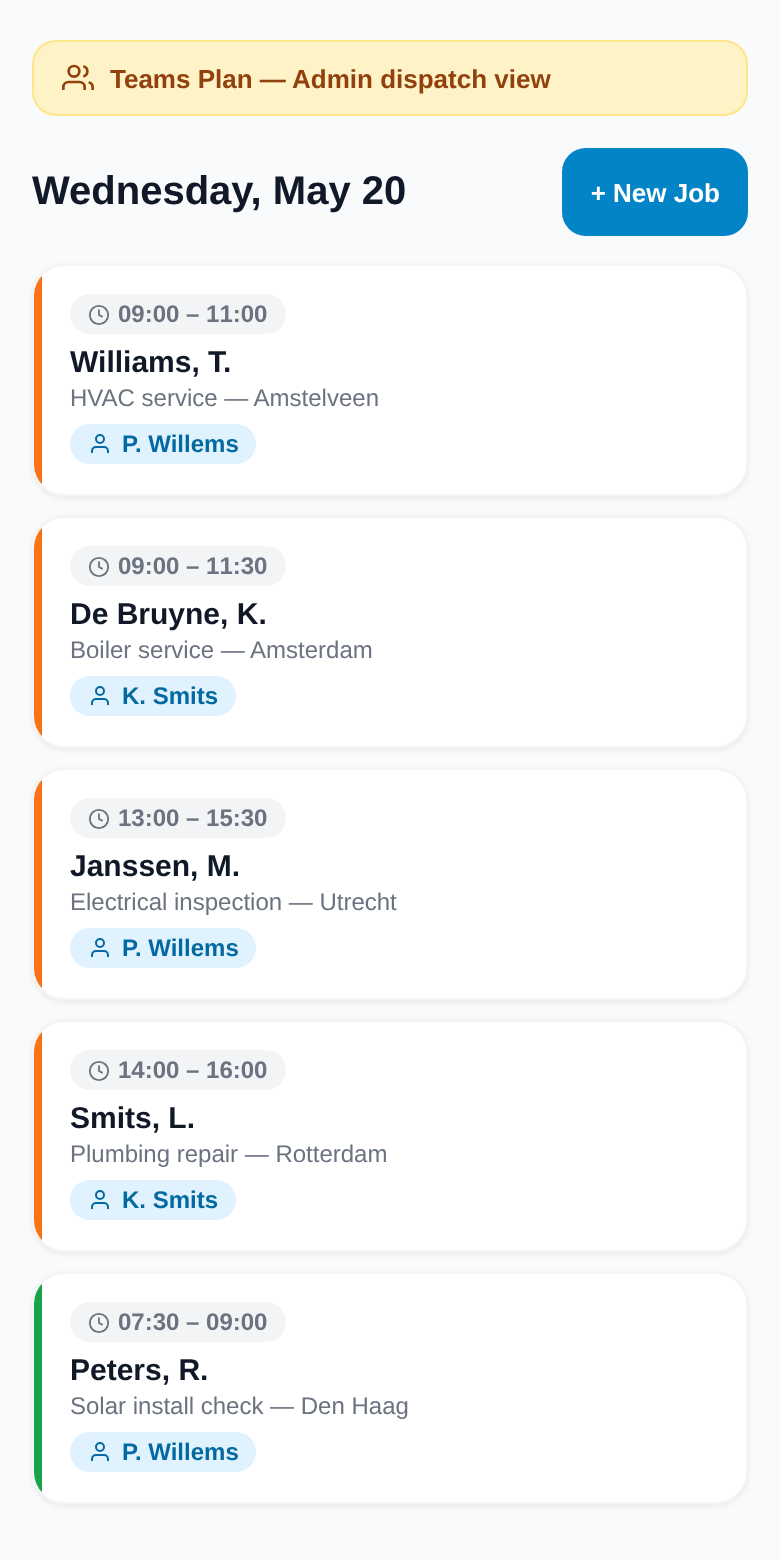
Assigning a Job to a Technician

Create or edit a job
Open the job form as normal. You'll see a new "Assign To" field that only appears on the Teams plan.
Select a technician
Tap the dropdown and choose who should do this job. The assigned technician will see it in their app immediately.
Monitor from Dispatch view
Your Dashboard shows a blue chip with the technician's name on each assigned job card so you always know who's doing what.
Technician View
When a technician logs in, they see a simplified view only their assigned jobs. They can clock in, clock out, add photos, and mark jobs complete.
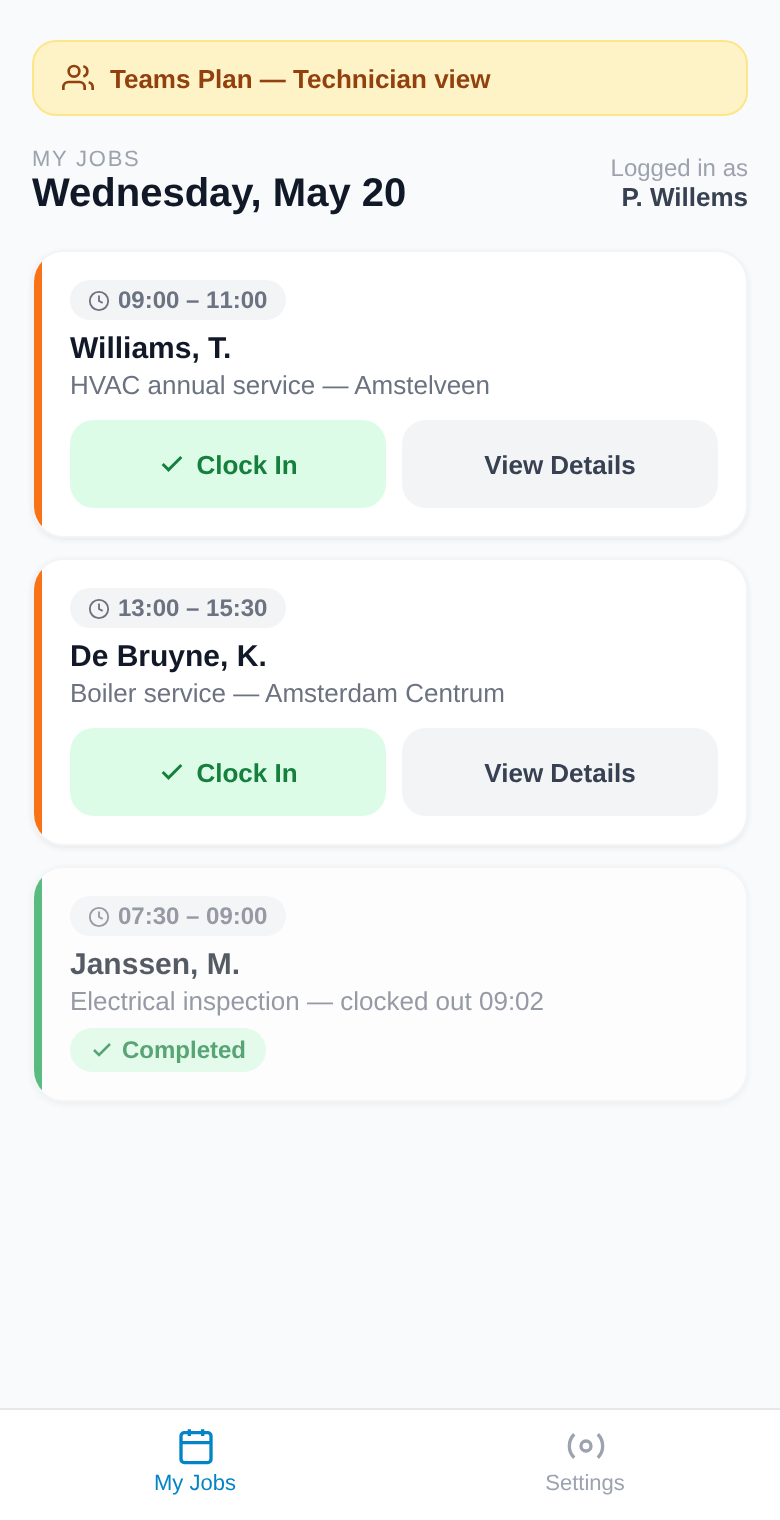
View assigned jobs
The technician sees only the jobs that have been assigned to them sorted by time.
Tap "Clock In"
When they arrive on site, they tap Clock In. The app records the GPS location and start time.
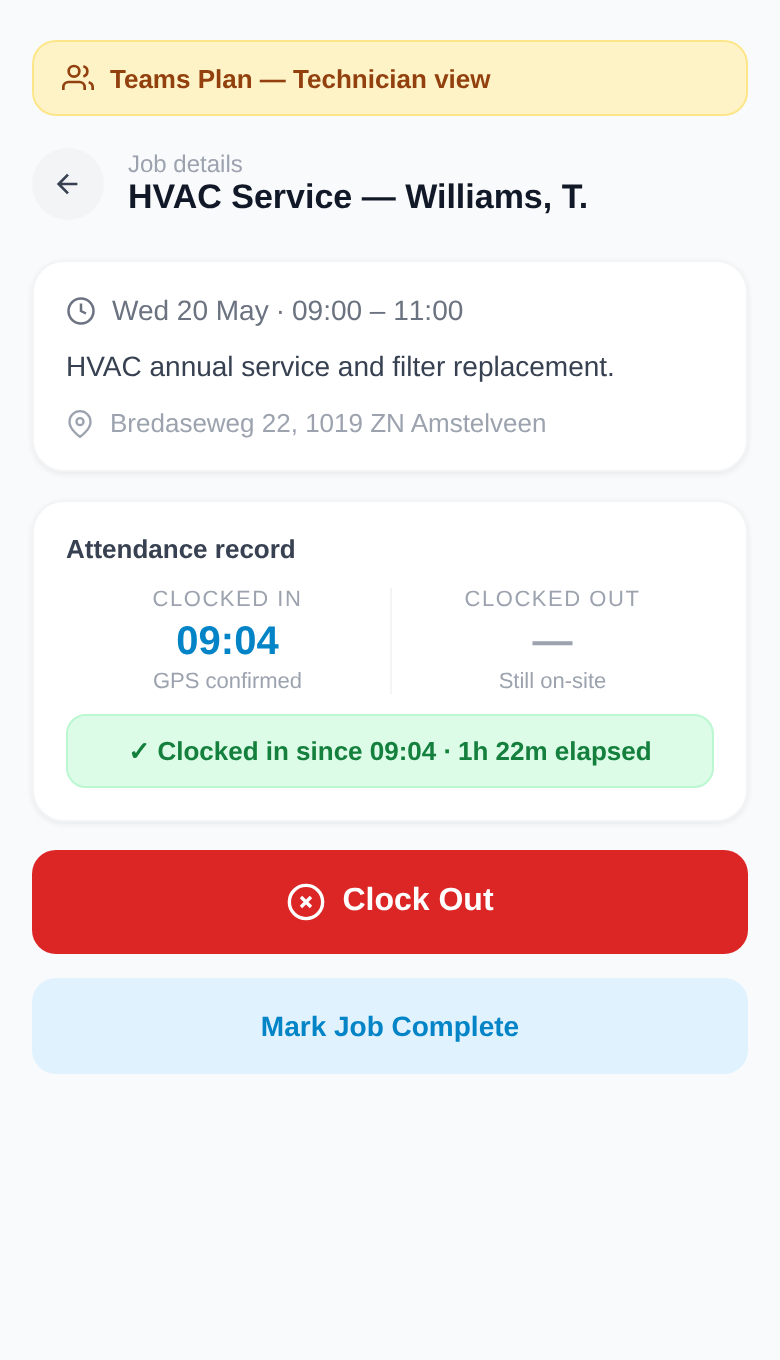
Add photos & notes
They can take before/after photos and add notes from the job detail screen while on site.
Clock Out & Mark Complete
Tap Clock Out when leaving. Tap Mark Complete when the work is fully done. The admin sees the update instantly.
Quick Tips
A few things that will make your day-to-day easier.
Install as an App
In your mobile browser, tap "Add to Home Screen" to install CySo Flow like a native app. It works offline too.
Automatic Updates
CySo Flow updates silently in the background. On next login you'll see a brief "Updating…" screen this is normal.
Send invoices via WhatsApp
Tap "Generate Invoice" → "Share PDF" → choose WhatsApp. Your customer gets a professional PDF instantly.
Search your customers
The Customers search bar filters by name, phone, or email. Great when you have many clients saved.
Profit at a glance
The profit figure on each job card is calculated automatically (revenue minus materials minus travel cost). No maths needed.
Your data is private
All data is stored securely in your account. Technicians can only see what you assign to them.
Plan Comparison
| Feature | Basic (Free) | Starter €49/yr | Pro €99/yr | Teams €399/yr |
|---|---|---|---|---|
| Customers | Up to 15 | Up to 50 | Unlimited | Unlimited |
| Photos per job | 1 | 3 | 10 | 10 |
| PDF Invoices | ✓ | ✓ | ✓ | ✓ |
| Finance Reports | ✓ | ✓ | ✓ | ✓ |
| Google Drive sync | — | ✓ | ✓ | ✓ |
| Advanced View / Automation | — | ✓ | ✓ | ✓ |
| Team & Dispatching | — | — | — | ✓ |
| Technician GPS Clock-In | — | — | — | ✓ |